Ferns are useful plants for a wide range of situations, including shade. You can propagate ferns by several methods, including by division, taking leaf clippings, and propagating from spores.
Here's how to propagate ferns from spores
If you want to gradually increase your stock, the easiest way to propagate ferns is by dividing plants in the garden in spring. The potted divisions should be secured in a shaded cold frame until fern roots have developed.
Jump to
Ferns are most readily propagated in larger numbers using spores. Spores are produced on the undersides of the fern fronds in small capsules called sporangia.
When ripe, the sporangia shed thousands of spores that are dispersed by the wind. If they have landed in a suitable position, the spores will then form a heart-shaped structure called a prothallus, which will then go on to produce a fern. This process will only be successful in continuous dampness, in both natural and controlled environments.
The time to complete this cycle varies. Adiantums for example, may be ready for pricking out in as little as six weeks, while others may take a few months. It is not uncommon to find rogue plants as spores waft about on the slightest breath, and it is therefore important to keep everything sterile.
Discover exactly how to propagate ferns below.
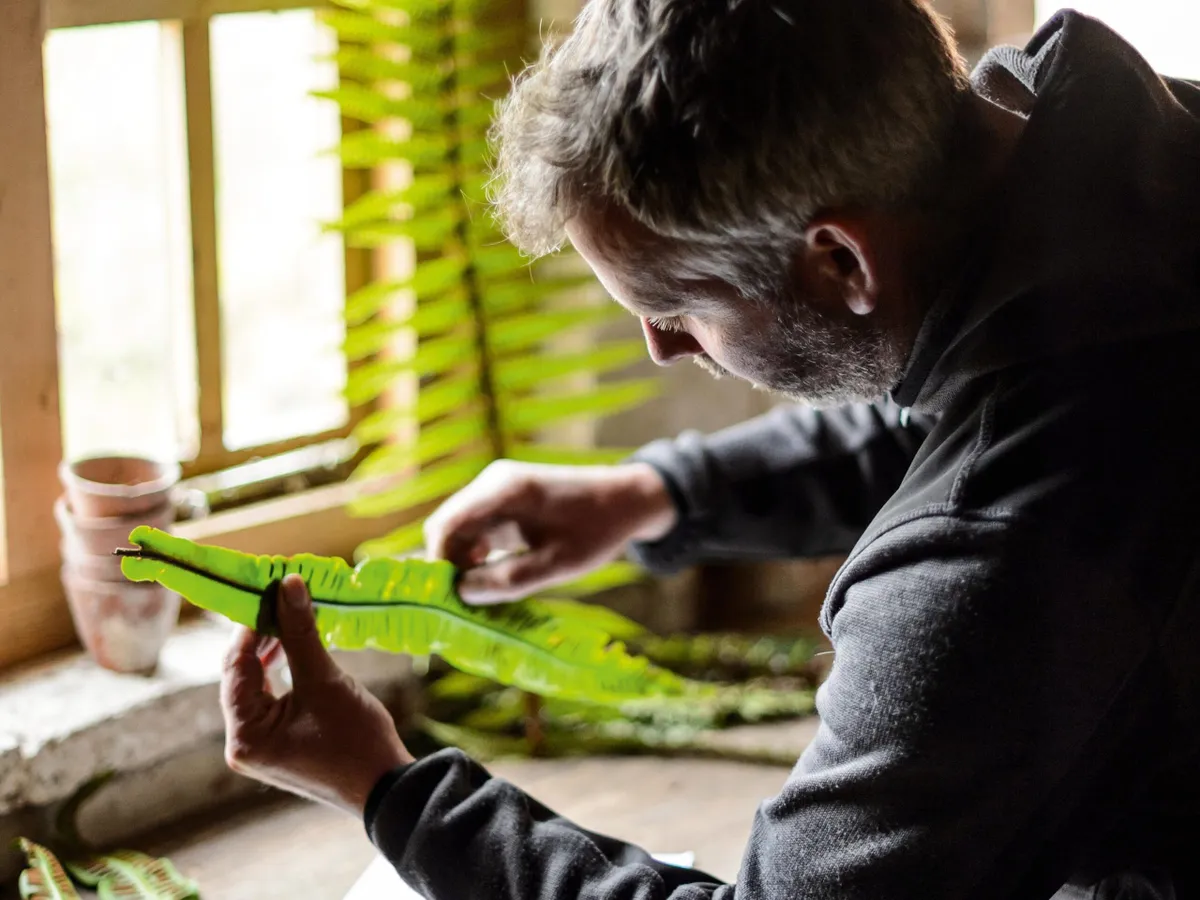
How to propagate ferns
How to propagate ferns from spores
For the gardener, the most general means of propagating ferns is by spores. These spores (fine, dust-like particles similar in some ways to pollen but able to generate a new plant) are contained in small capsules – called sporangia – on the underside of the fronds, as you can see in the Asplenium scolopendrium above. Provided you can supply heat, ferns can be propagated year-round, otherwise, March and July are the best months.
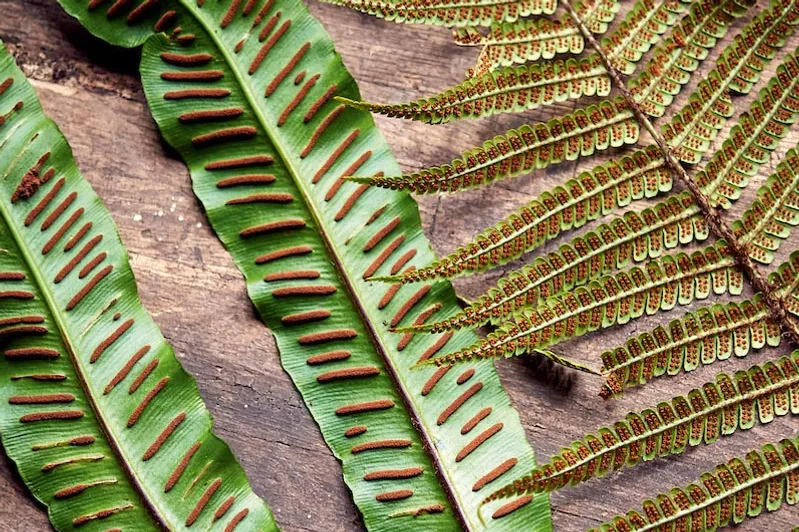
Periodically examine the fern carefully and when these small capsules turn brown (but before they have burst) cut the frond and wrap it up in smooth, white paper.
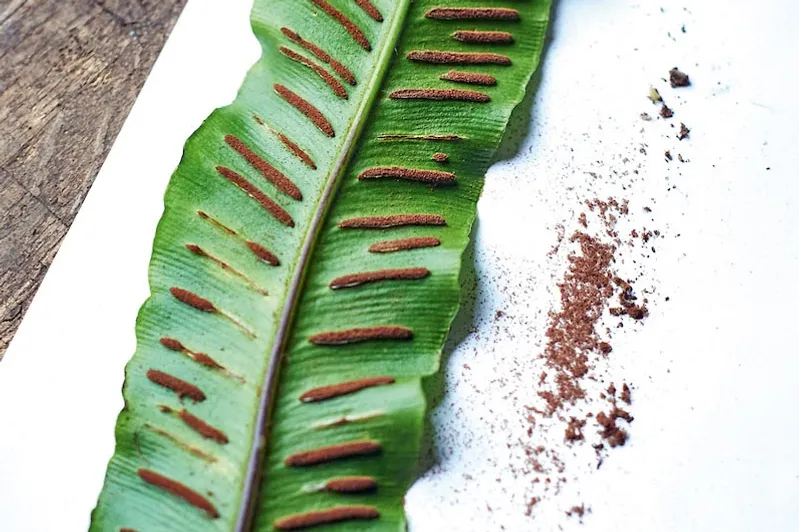
After a day or two, unwrap the frond, being mindful not to spill any of the fine brown dust, which is composed of millions of minute spores.
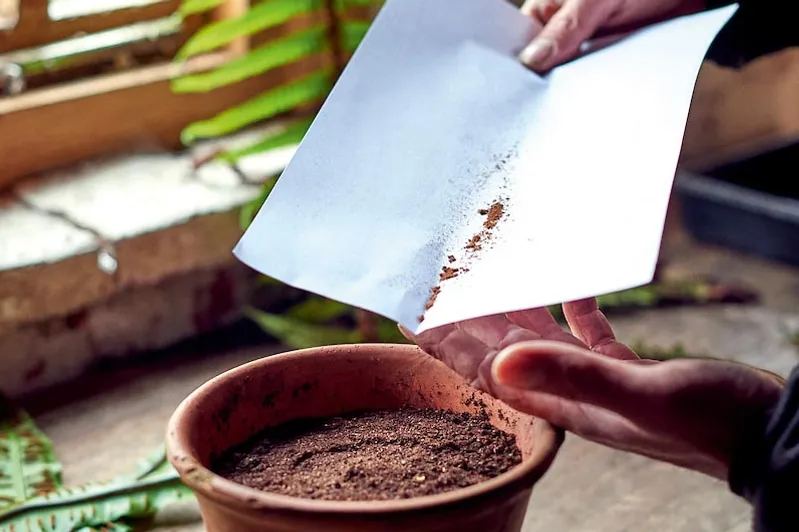
For fern compost, I use a 50/50 mix of John Innes seed compost and a peat alternative. Place in a sterilised container or pot and firm level. Cover the compost with a paper towel and scald with boiling water to sterilise the soil. Once the compost has cooled, remove the towel and sow the spores immediately. The spores can be sown in the same way as seeds, thinly over the surface of the compost.
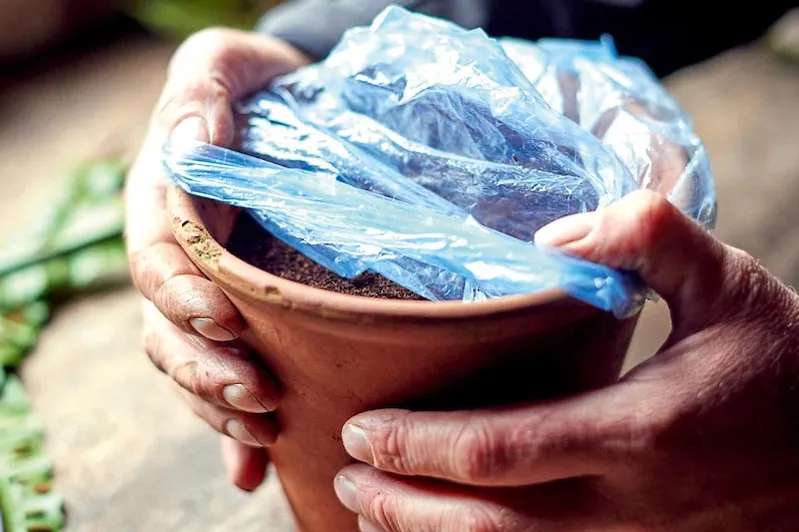
Quickly cover with a lid or plastic bag to prevent contamination. It is essential to keep the compost moist for germination to occur, but do not water from above. Instead, stand pots in a saucer of water. Place in a shady position.
How to propagate ferns from clippings
Some ferns, including some cultivars of Polystichum setiferum, Asplenium x lucrosum and the Dryopteris wallichiana, make miniature replicas on the fronds of the parent plants (bulbils), which can be rooted easily in the right conditions.
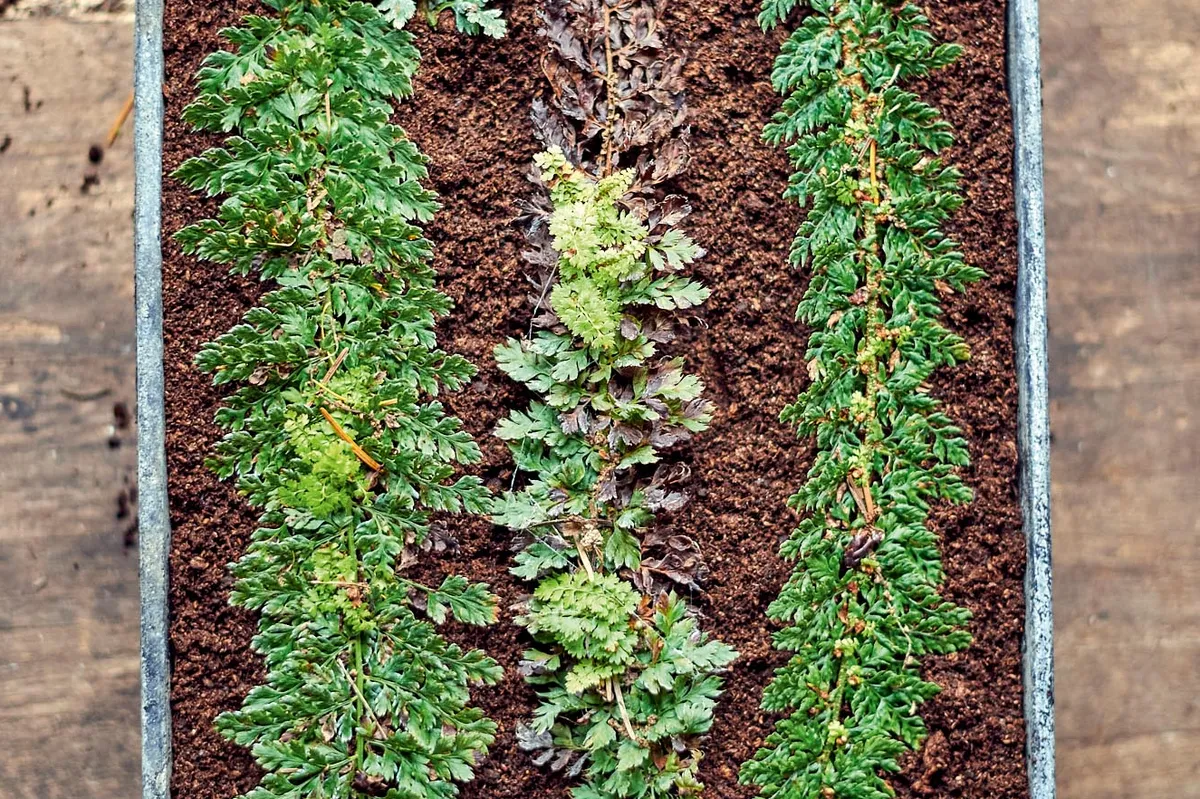
- Fronds can be bowed over and pegged down on the surface of a tray positioned next to the mother plant, then detached once rooted.
- Fern fronds can also be removed then placed and pegged to encourage rooting (facing upwards) on the surface of a tray of compost.
- Use a moisture-retentive, sandy, or coir-based compost.
- Place in a moist, humid atmosphere in a cool and shady spot in an unheated greenhouse or cold frame.
- Over time the frond will wither and small ferns will develop. It is generally best to overwinter the rooted ferns in trays and pot on into 9cm pots in spring when signs of growth appear.
- Keep the young plants in a similar humid atmosphere until they have established a good root system and are large enough for planting out.
Here's more on the best ferns to grow